Making Dreamland.irl
When we were asked, “Can we make the artwork from Glass Animals’ Dreamland album run in real-time across a 15,000 pixel wide canvas?”, the answer wasn’t an immediate yes.
While we have a great deal of experience in building Unreal environments and controlling them from external sources, this would be the first time we had created an Unreal Environment to run in real-time for a live performance. It would also be the first time we had pushed Unreal to run on a canvas 15,000 pixels wide.
We had previously used Unreal in two ways, firstly to make rendered content, replacing traditional workflows such as Redshift, and secondly in virtual production, in both sports studios and more make-believe environments. While the workflow is similar, a live music show brings added pressure because the created environment will be on screen for over four hours with 6000 people continually staring at it. There isn’t anywhere to hide if it suddenly drops its frame rate or lags.
Initially we set up a very simple draft scene with basic lighting so that we could benchmark the performance of the scene at the correct resolution. This allowed us to find the right balance between high-quality global illumination settings and reliable performance.
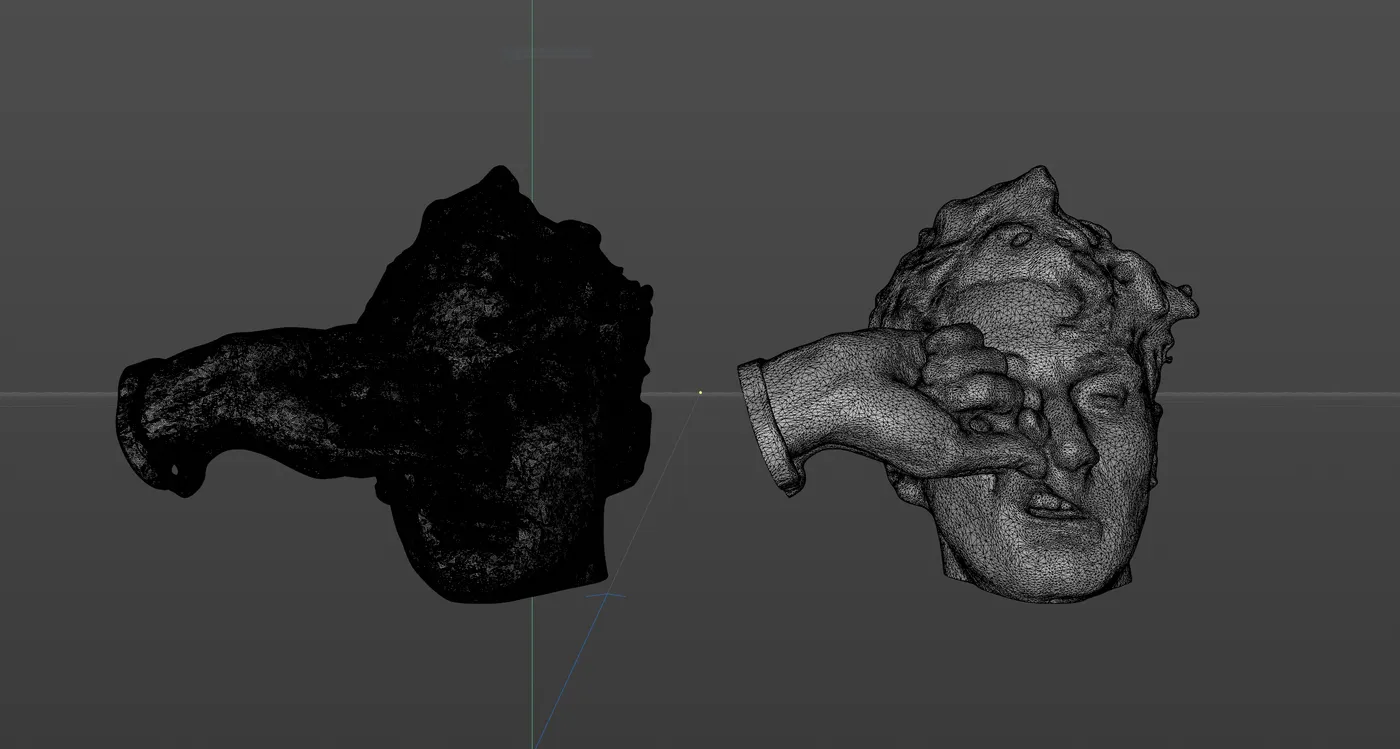
The first step in preparing the final environment was to prepare all of the 3D models to be used in real-time. In rendered usage the rule often is ‘the more polygons the better’ to create super smooth results.
However, in this instance, we were looking for optimisation at every step to allow us the maximum amount of processor headroom to use for lighting and global illumination. Initially the 3D scan of Dave Bayley’s head was made up of 282,000 polygons. Whilst this would run in Unreal Engine, a huge proportion of our system resources would have been spent delivering this single object and the problem would have been multiplied by every object in the scene.
Therefore, we worked to find the balance between the scan looking smooth and being real-time efficient. We were able to reduce the triangle count of the model and drop Dave’s head scan to just 28,000 polygons.
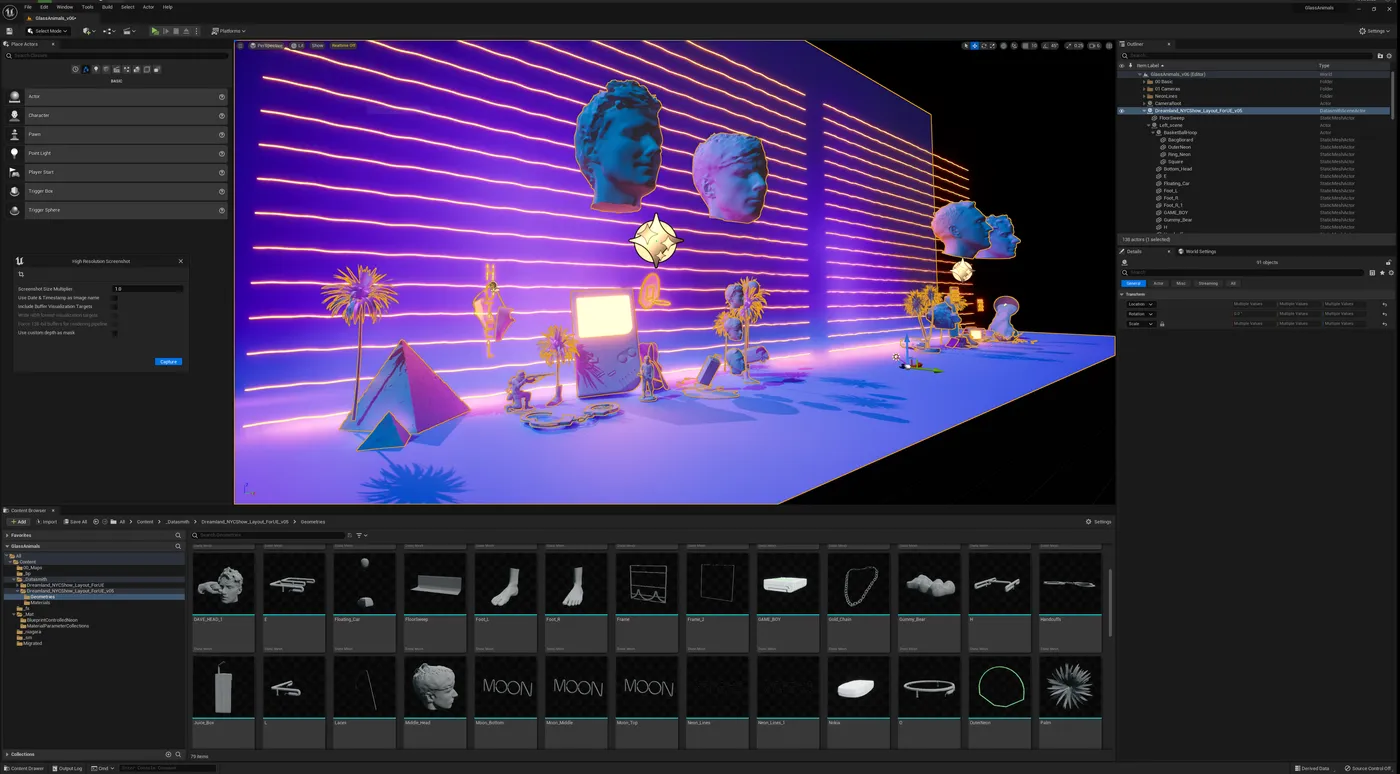
Once we’d established the general layout in Cinema 4D the real work began in Unreal. The advancements with the new illumination system, Lumen, is what made the project work.
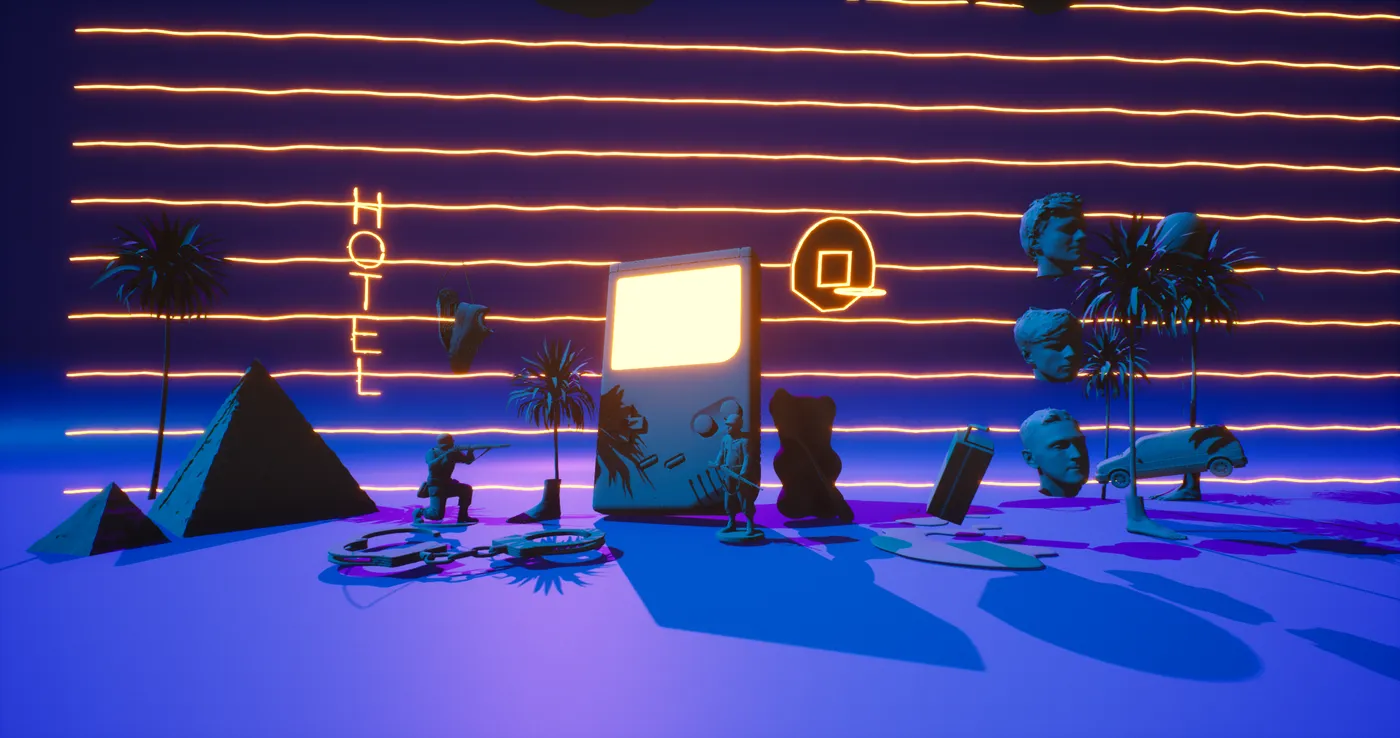
To achieve global illumination with previous systems, all the light levels would need to be calculated and baked, This meant that once set, nothing could be changed. Dynamic lighting within a scene could be created by combining static and dynamic lights, but all the indirect bounce lighting remained unchanged. There were ways of cheating this, by manually placing bounce lights at a lower intensity to give the effect of indirect bounce, but the results never felt realistic.
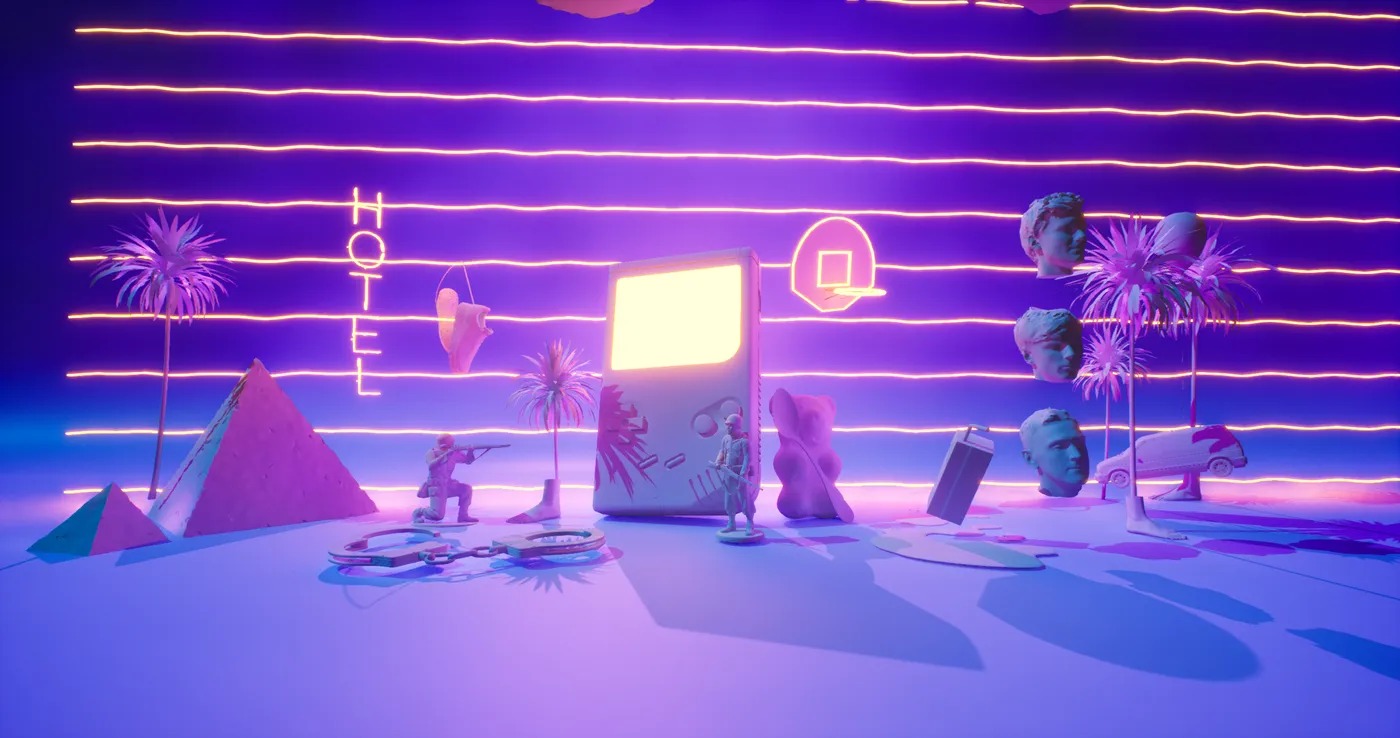
With Lumen, all lights can be 100% dynamic with global illumination calculated in real-time. This meant that all aspects of the virtual lights could be controlled from the lighting desk, and also enabled the neon signs featured in the scene to dynamically contribute to the illumination of the world in which they were placed. Light sources could strobe, change colour and move on cue, and instantly the bounce from those light sources would be calculated to fill in anything not directly lit.
Using Lumen meant that we could recreate the same techniques used to created the original rendered artwork for the Dreamland album without compromising on the flexibility and overall effect of the scene.
Not being restricted to baked lighting completely transformed how we approached creating this scene.
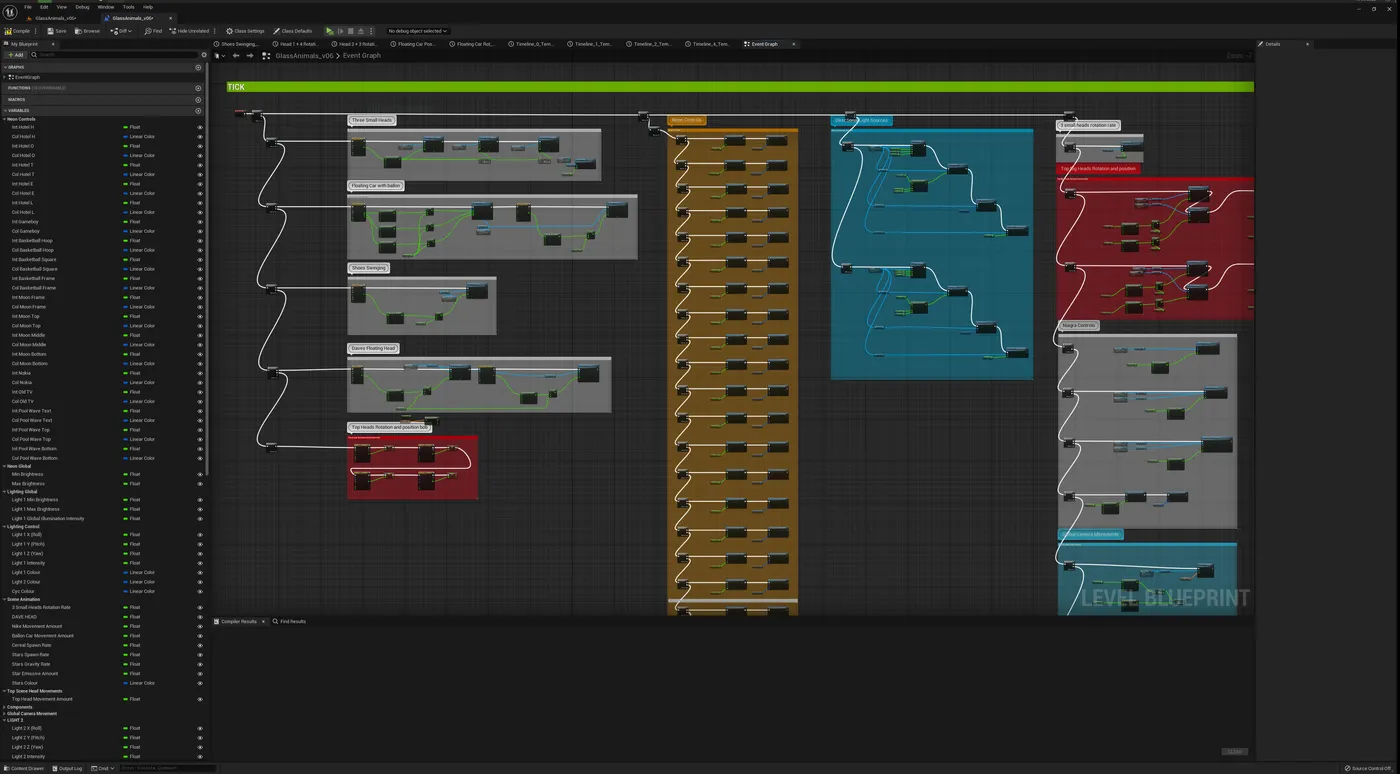
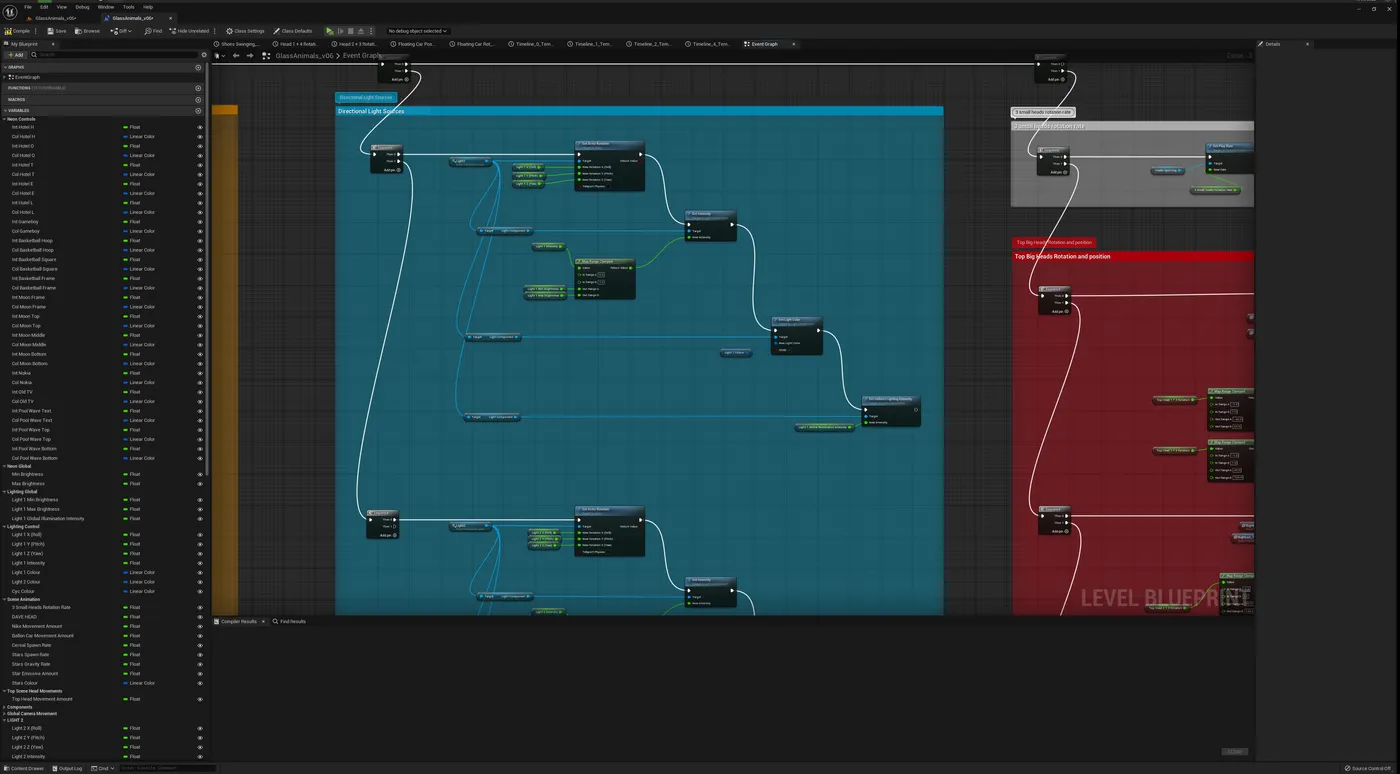
Over 110 elements from the scene were controlled from the lighting desk. This meant we had to set up the blueprint structure in a way that streamlined the onsite set-up process.
Where possible, we set everything up to be controlled by changing the value between 0 and 1, clamping more varied values all to respond to this limited range. The intention behind this was to make programming easier and to prevent the lighting director from having to refer to an endless list of suggested minimum and maximum values. Instead everything across the project could remain consistent.
The Unreal project was worked on by multiple people at FRAY along with the team at 4Wall. Therefore a simple, organised and well-labelled Blueprint layout was key to making the process and open and transparent as possible.
The gig took place in Brooklyn and the FRAY team are based in the UK so keeping on top of the workflow was essential. We used PlasticSCM throughout the project. This version control tool meant that 4Wall could check out elements of the project in NY while FRAY checked out and worked on other priorities back in the UK. PlasticSCM would then merge all of the changes as each person checked their assets back in.